Why Are Your Turkey Eggs Not Hatching? (Key Tips)
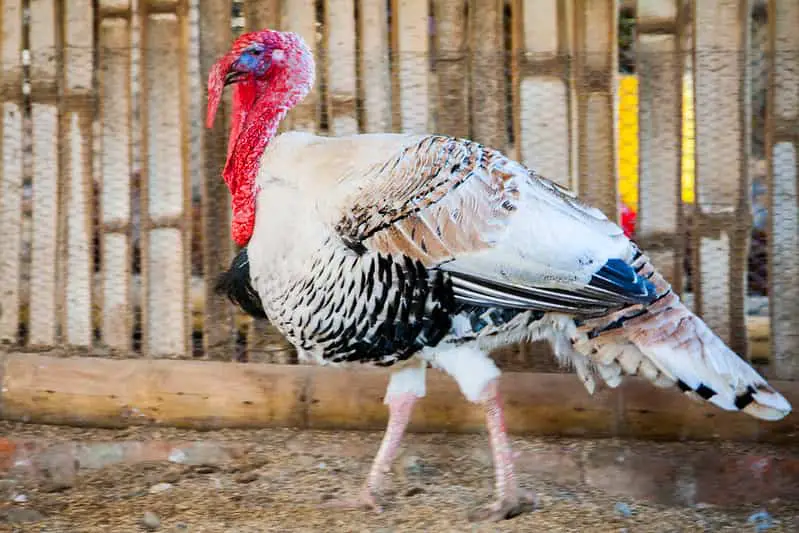
Most of the causes that can influence the variability or difficulty of hatchability in a turkey originate from inadequate management of egg handling processes prior to hatching.
If your turkey is experiencing difficulties with egg incubation, you should be aware of some of the issues that you should be promoting to make it easier for your turkey to hatch.
You must know the average time it takes for an egg to hatch, you must know the proper temperature in the environment where the eggs will be, the humidity, and other very important aspects that may seem like small details but are actually fundamental for the hatching of the egg.
If you want your turkey eggs to hatch properly and smoothly, make sure you know the following details that I will cover in this topic.
These tips can be used for both turkey egg hatching and egg incubation of other birds.
Ideal temperature for hatching eggs
The temperature of the air is a key determinant of successful hatching, as the warming of the eggs takes place due to the heat exchanged between the air and the eggs.
The optimum temperature level in the egg incubator during incubation is between 37 and 38°C. Although when reaching the last days (2 or 3) of the incubation it is important to reduce the temperature.
The incubators are fitted with a thermometer and an automatic temperature controller, manageable by a simple mechanical system, in order to regulate correctly the internal temperature. Once the internal temperature has been set, the automatic regulator will take care of heating the incubator.
Ideal humidity for egg hatching
In incubators, air humidification is due to the evaporation of water from the bottom and its dissemination inside the incubator.
That is why due to the differences in water evaporation in different areas of the incubator we find embryos in different gestation states. The higher the temperature of the interior air, the more vapours it can contain.
Considering that dry air is not a good conductor of heat, it is necessary to humidify it in order to obtain a better heating of the eggs.
Depending on the species the humidity levels are between 40% and 70%. The most advisable humidity level is 55% during the beginning of the incubation and 65-70% during the last 3 days, so that the shell membranes are softened, thus facilitating their hatching.
To measure the humidity inside the incubators, a hygrometer should be available, not included with the incubator. It is recommended to buy a hygrometer, available at any pet store.
To regulate this humidity, the incubators have some water channels at the bottom, in which we will have to increase or decrease the amount of water they contain depending on the level of humidity we need.
Ventilation
To ensure the purity of the air, it is necessary that the incubator is kept cool and the air inside is regularly renewed.
During incubation, the eggs absorb oxygen and release carbon dioxide, so efficient air circulation is essential to ensure that the necessary heat and humidity reaches the eggs.
For this purpose, incubators have a fan that circulates the air that is concentrated in the incubator, absorbing it and then distributing it and homogenizing the temperature of the air inside.
Turning the eggs
The birds turn the eggs with a frequency of between 1 and 2 hours during the first 18 days of natural incubation. This turning is essential and in artificial incubation it has to be simulated manually or mechanically, otherwise the embryo would stick to the shell membranes, causing its death.
When turning, the eggs have to be turned by 90 degrees, keeping them at 45 degrees with respect to the vertical axis. Our incubators have an automatic egg turning device, so the heavy task of turning the eggs several times a day will be done automatically, guaranteeing a correct turning.
By automatically turning the eggs and reducing the constant contact with the eggs, the automatic turner will prevent the eggs from getting dirty and closing the pores of the shells.
The process of hatching
As soon as the baby turkey begins to bite the eggshell, hatching has begun. Two or three days before, the eggs will have stopped turning.
Once it is observed that there are several chopped eggshells, the following situations can occur:
It has pecked: In case the chick is strong, it will hatch without problems. In the case of a weak chick, if it has bitten the shell and is delayed more than normal, it is necessary to help it by carefully breaking a little of the shell so that it can come out better.
Not pecked: It may need more time and hatch a little later than the others. It may also be the case that the egg was not fertilized or that the embryo died during incubation.
Before incubation
It is important to decide on a good location in which to place the incubator.
A room in which the temperature is kept stable between 21 and 27ºC.
A cool place without direct sunlight. NOTE: An outside temperature lower than 16°C will reduce the temperature inside the incubator.
The eggs to be incubated must be fresh and fertile. If the eggs have been transported from far away, keep them outside the incubator for 24 hours before starting the incubation: 12 hours face down and another 12 hours face up.
Do not use eggs older than 15 days and avoid exposing them to very high or low temperatures. Discard small, badly shaped eggs and those with cracked or thin, porous shells.
Incubate only clean eggs, and do not exceed the capacity of the incubator.
If you are using an incubator for the first time, it is recommended that you incubate a small number of low value eggs to ensure that you are doing so correctly.
During incubation
Check the inside temperature with the thermometer. During incubation, the internal temperature of the incubator should be 37.5°C.
Always have a second thermometer available, in case the main thermometer of your incubator is faulty.
As the days go by, you will notice an increase in the internal temperature of the incubator, so you will have to readjust it to 37.5ºC. At the same time, the water in the plastic channel will evaporate, so you will have to add warm water every few days, normally twice a week would be enough.
As for humidity, a low humidity level is preferable to a high one, except for the last 2-3 days of incubation.
One way to reduce the humidity in the incubator is to decrease the amount of water in the plastic tray. Although you can also cover part of the water with aluminum foil, and fix it with adhesive tape.
Last days of incubation
Two or three days before the eggs hatch, it is no longer necessary to turn the eggs, so you should remove the automatic turner from inside the incubator and leave the eggs lying on the tray.
Avoid removing the incubator lid until the eggs have hatched, and as they hatch remove them somewhere with food, water, and a temperature between 35ºC and 37ºC.
The chicks can survive up to 48 hours without food or water. In some cases, it may be necessary to put them back in the incubator to dry or heat them.
Key Tips
- Do not turn the temperature controller unless necessary
- The operation of the incubator can be affected if the temperature is handled excessively
- If the incubator does not heat, check if everything is connected correctly
- Do not insert more eggs than the capacity of the incubator itself
- Keep the eggs clean. Any kind of dust or dirt is harmful to the eggs, because it closes the pores of the shells
- Clean your incubator with soap and water after every incubation. The plastic tray can be cleaned with detergents or disinfectants
- After each temperature setting, wait for a time until the temperature has stabilized
- Do not open the incubator lid during incubation

